

USB drives may need to be formatted different ways to be used by different devices, if you find the USB isn't working on your embroidery machine I would highly recommend first trying to reformat it.
The format of a USB drive can be changed easily by connecting it to a computer, below I will show an example of how to reformat a USB using a Windows 10 PC.
STEP 1: Insert the USB drive into your PC
STEP 2: Locate the USB drive on your PC, for Windows PCs will be within File Explorer (you can quickly access this by pressing the Windows key + E on your keyboard)
STEP 3: Right click on the USB drive and select the "Format..." option
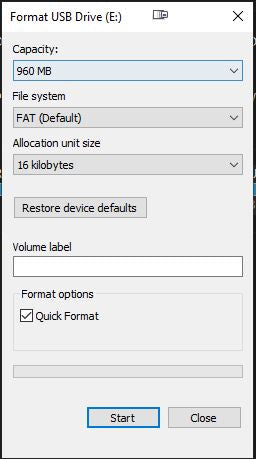
STEP 4: Change the file system drop down menu to the format required by your machine*, you can generally find this information from the manual of your embroidery machine or the machine's company website/help center. 
*(If you aren't able to find information related to the format your machine requires I would recommend trying FAT32 first).
STEP 5: Make sure that "Quick Format" is selected and press "Start", please note this will erase all data from the USB in the process (make sure nothing important is still on the USB before you reformat it)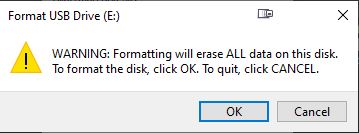
STEP 6: The USB has now been reformatted, you can copy designs onto it and check if your embroidery machine will now read it.
1 comment
Annette Harris
Thankyou Tim and Sweetpea.xx