

Dragon and Unicorn Reading Pillows
After last month’s Table Runner make I had some leftover scraps of batik fabrics and they set me thinking: what could I do with them rather than just leaving them sitting in my scrap box? Looking through the Sweet Pea website I noticed the reading pillows, which seemed to fit the bill. I always like to have a recipient in mind when I make projects, and a friend just happened to mention how much her children (a girl and a boy) enjoy reading. I asked her what colours they like and gave them the choice of unicorn, horse, deer and dragon. Horse/ Unicorn reading Pillow Dragon Reading Pillow Deer Reading PillowDaisy (aged 6) chose a unicorn (very popular in the UK at the moment) and Harry (aged 9) chose a dragon.
Upcycling fabrics
Upcycling, also known as creative reuse, is the process of transforming by-products, waste materials, useless, or unwanted products into new materials or products of better quality or for better environmental value. Upcycling is the opposite of downcycling, which is the other half of the recycling process.
There is a growing trend here in the UK for upcycling and recycling clothing and fabrics. I had an unused IKEA throw sitting in the cupboard, so I decided to use it for the background fabric for the dragon pillow. It’s lovely and soft and is ideal for a pillow to lean on while reading a favourite book. For Daisy, it had to be pink and white and a unicorn (her choice). I had some soft, pink polar fleece in my fabric stash, so I chose that for the background fabric for Daisy.
When using stretchy non-woven fabrics, it is important to make sure they are well stabilised. Also, depending on how lofty they are, you may need to adjust the height of your embroidery foot to give your machine the additional clearance it needs. On my Brother Innovis V3 embroidery machine, this is done in the settings menu:
 You may also need to select a stronger needle. I normally use an embroidery 75/11 needle, but for this project I found I needed to use a topstitch 90/14 to get through all of the layers comfortably.
I’m often asked about which wadding (batting) to use. My answer is always: it depends… Not very helpful I can hear you saying For quilts, I generally use a good quality 80/20 cotton/polyester mix as it gives a good balance of the natural properties of cotton with the stability provided by the polyester. For heritage-style quilts (or for babies if it’s going to be used to cover the child) I always use 100% cotton (ideally pre-shrunk). For animal beds and for general craft I use 100% polyester (unless I have offcuts of other types). A good quality, cost-effective, medium loft polyester is Hobbs Poly-Down. There are so many choices available (including bamboo) that you’ll find as many opinions of what is best to use. You will eventually find your own preference.
You may also need to select a stronger needle. I normally use an embroidery 75/11 needle, but for this project I found I needed to use a topstitch 90/14 to get through all of the layers comfortably.
I’m often asked about which wadding (batting) to use. My answer is always: it depends… Not very helpful I can hear you saying For quilts, I generally use a good quality 80/20 cotton/polyester mix as it gives a good balance of the natural properties of cotton with the stability provided by the polyester. For heritage-style quilts (or for babies if it’s going to be used to cover the child) I always use 100% cotton (ideally pre-shrunk). For animal beds and for general craft I use 100% polyester (unless I have offcuts of other types). A good quality, cost-effective, medium loft polyester is Hobbs Poly-Down. There are so many choices available (including bamboo) that you’ll find as many opinions of what is best to use. You will eventually find your own preference.

Dragon Reading Pillow
I started by making the dragon pillow. I assembled all my materials, the IKEA throw and left-over batiks from last month’s table runner (see https://swpea.me/2018/08/03/freeform-table-runner-2/ if you missed it). The project can be made in three sizes (5 x 7, 6 x 10 and 8 x 12), depending on the hoops available on your machine. The largest hoop my machine can use is 6 x 10, so that’s what I used. As the background fabric has some stretch to it, I used an iron-on mesh stabiliser (Floriani No Show Nylon Mesh Fusible) on the back of the fabric. This is a useful stabiliser to have in your stash as it remains flexible on knitted fabrics (jersey, etc) and non-woven (fleece, etc) while providing excellent stabilisation. There are many steps in the instructions for these projects, so my tip is to print out the instructions and tick each step as you complete it. I sometimes, don’t have time to complete the project in one sitting, so having a record of where I left things is helpful! If I switch off my machine mid-project, it remembers where I was and asks me if I want to continue where I left off when I switch it on again. I suspect your machines does the same. A very useful feature I find.

 The pillow panel is straightforward to make and a useful way to use up those left-over scraps from other projects. Some of the shapes require careful trimming to ensure the satin stitch covers over the raw edges. If you have a digital cutting machine, such as Brother’s Scan n Cut, you can use the svg files included with the design to cut the required shapes using your cutting machine. I sometimes do this, particularly if I am batch making projects. There are useful help files available on the website (see
How to cut Sweet Pea applique pieces with freezer paper sandwiches on the scan n cut
The pillow panel is straightforward to make and a useful way to use up those left-over scraps from other projects. Some of the shapes require careful trimming to ensure the satin stitch covers over the raw edges. If you have a digital cutting machine, such as Brother’s Scan n Cut, you can use the svg files included with the design to cut the required shapes using your cutting machine. I sometimes do this, particularly if I am batch making projects. There are useful help files available on the website (see
How to cut Sweet Pea applique pieces with freezer paper sandwiches on the scan n cut
 After finishing the panel there is some basic construction required on your sewing machine, but it is very easy to do and the instructions are clearly explained with photographs of each step.
 Here is my finished pillow for Harry:

Unicorn Reading Pillow
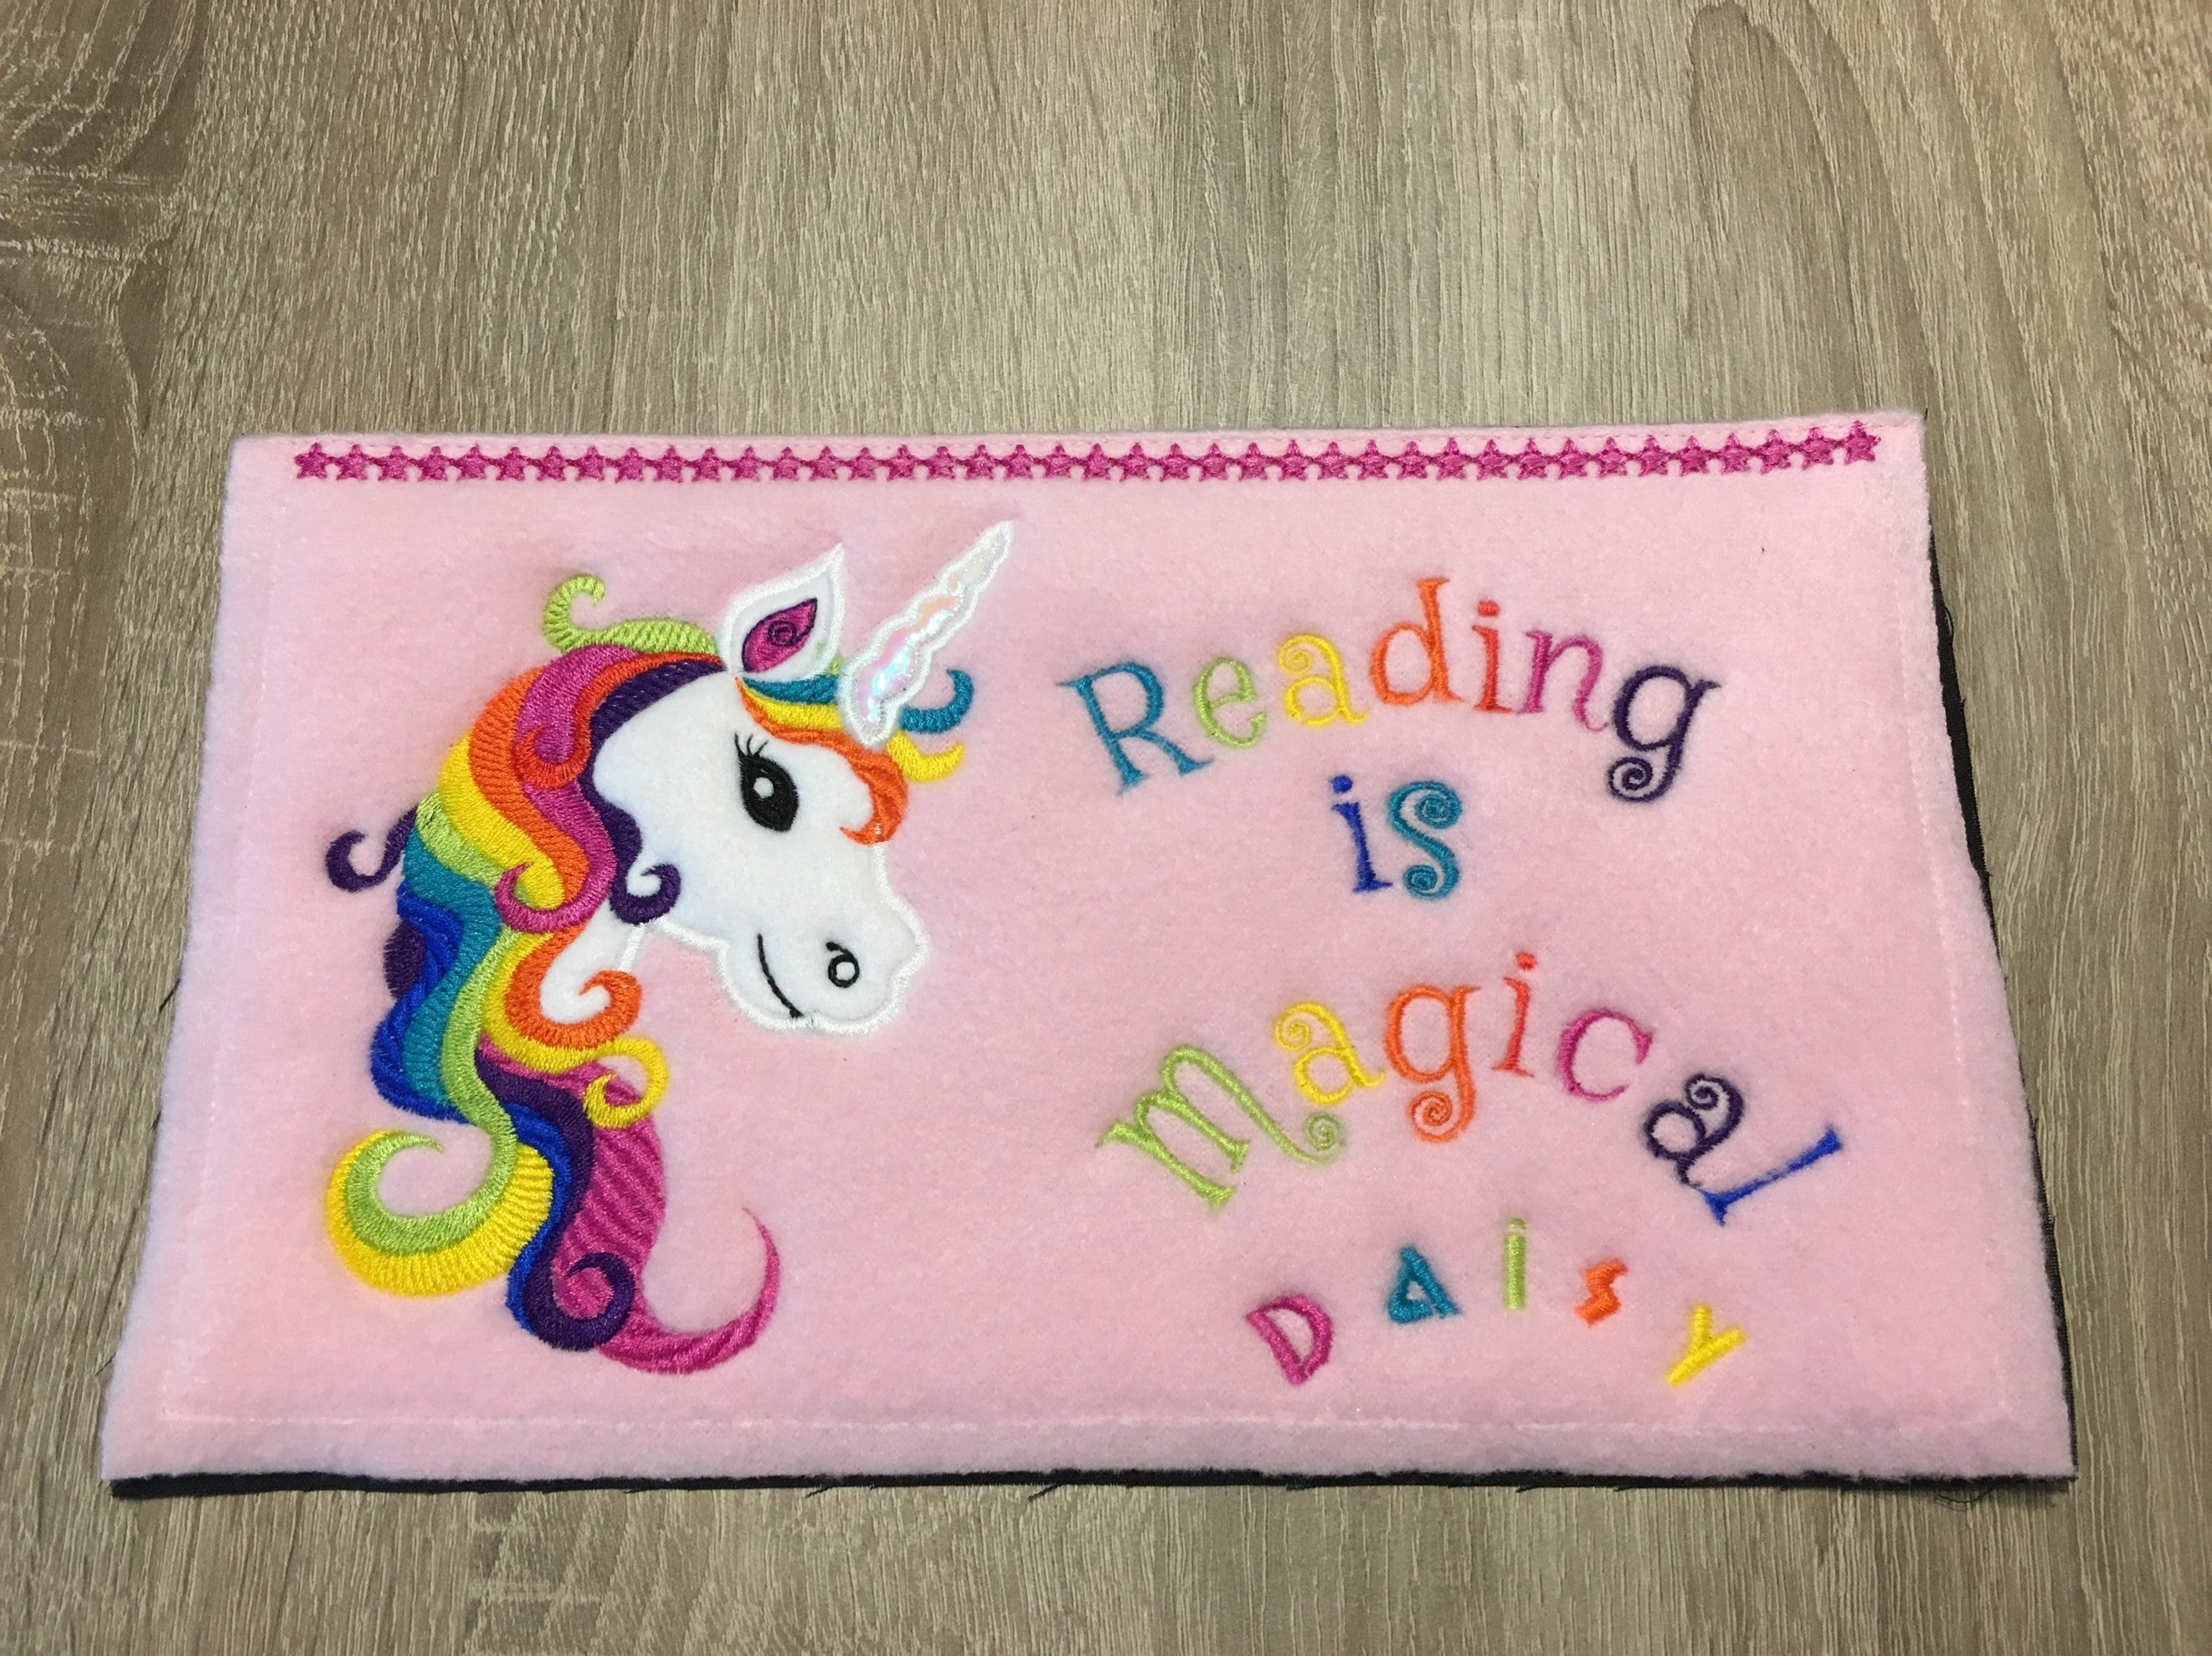
Polar fleece is a lovely fabric to use for children as it is lovely and soft. The fleece I have isn’t particularly lofty, so I didn’t need to use a water soluble “topper” as you might need to with a terry towelling or other lofty fabric. This time I didn’t use the iron-on mesh stabiliser, I just hooped up with my usual tear-away. I did have to adjust my embroidery foot height as the combination of fleece and Hobbs Poly-Down wadding made for a lofty sandwich. I used white felt for the unicorn head, again adding to the height. Better safe than sorry. What I didn’t do, was change the needle. More on that later. There are so many thread colour combinations you could use for your pillow. I auditioned a selection (I needed 10 colours) and here is what I chose: There are many thread changes in this project, so I recommend printing out the unicorn (horse) design page – it has the step number against each colour.
 Following the comprehensive step-by-step instructions, all progressed as expected…
 until…
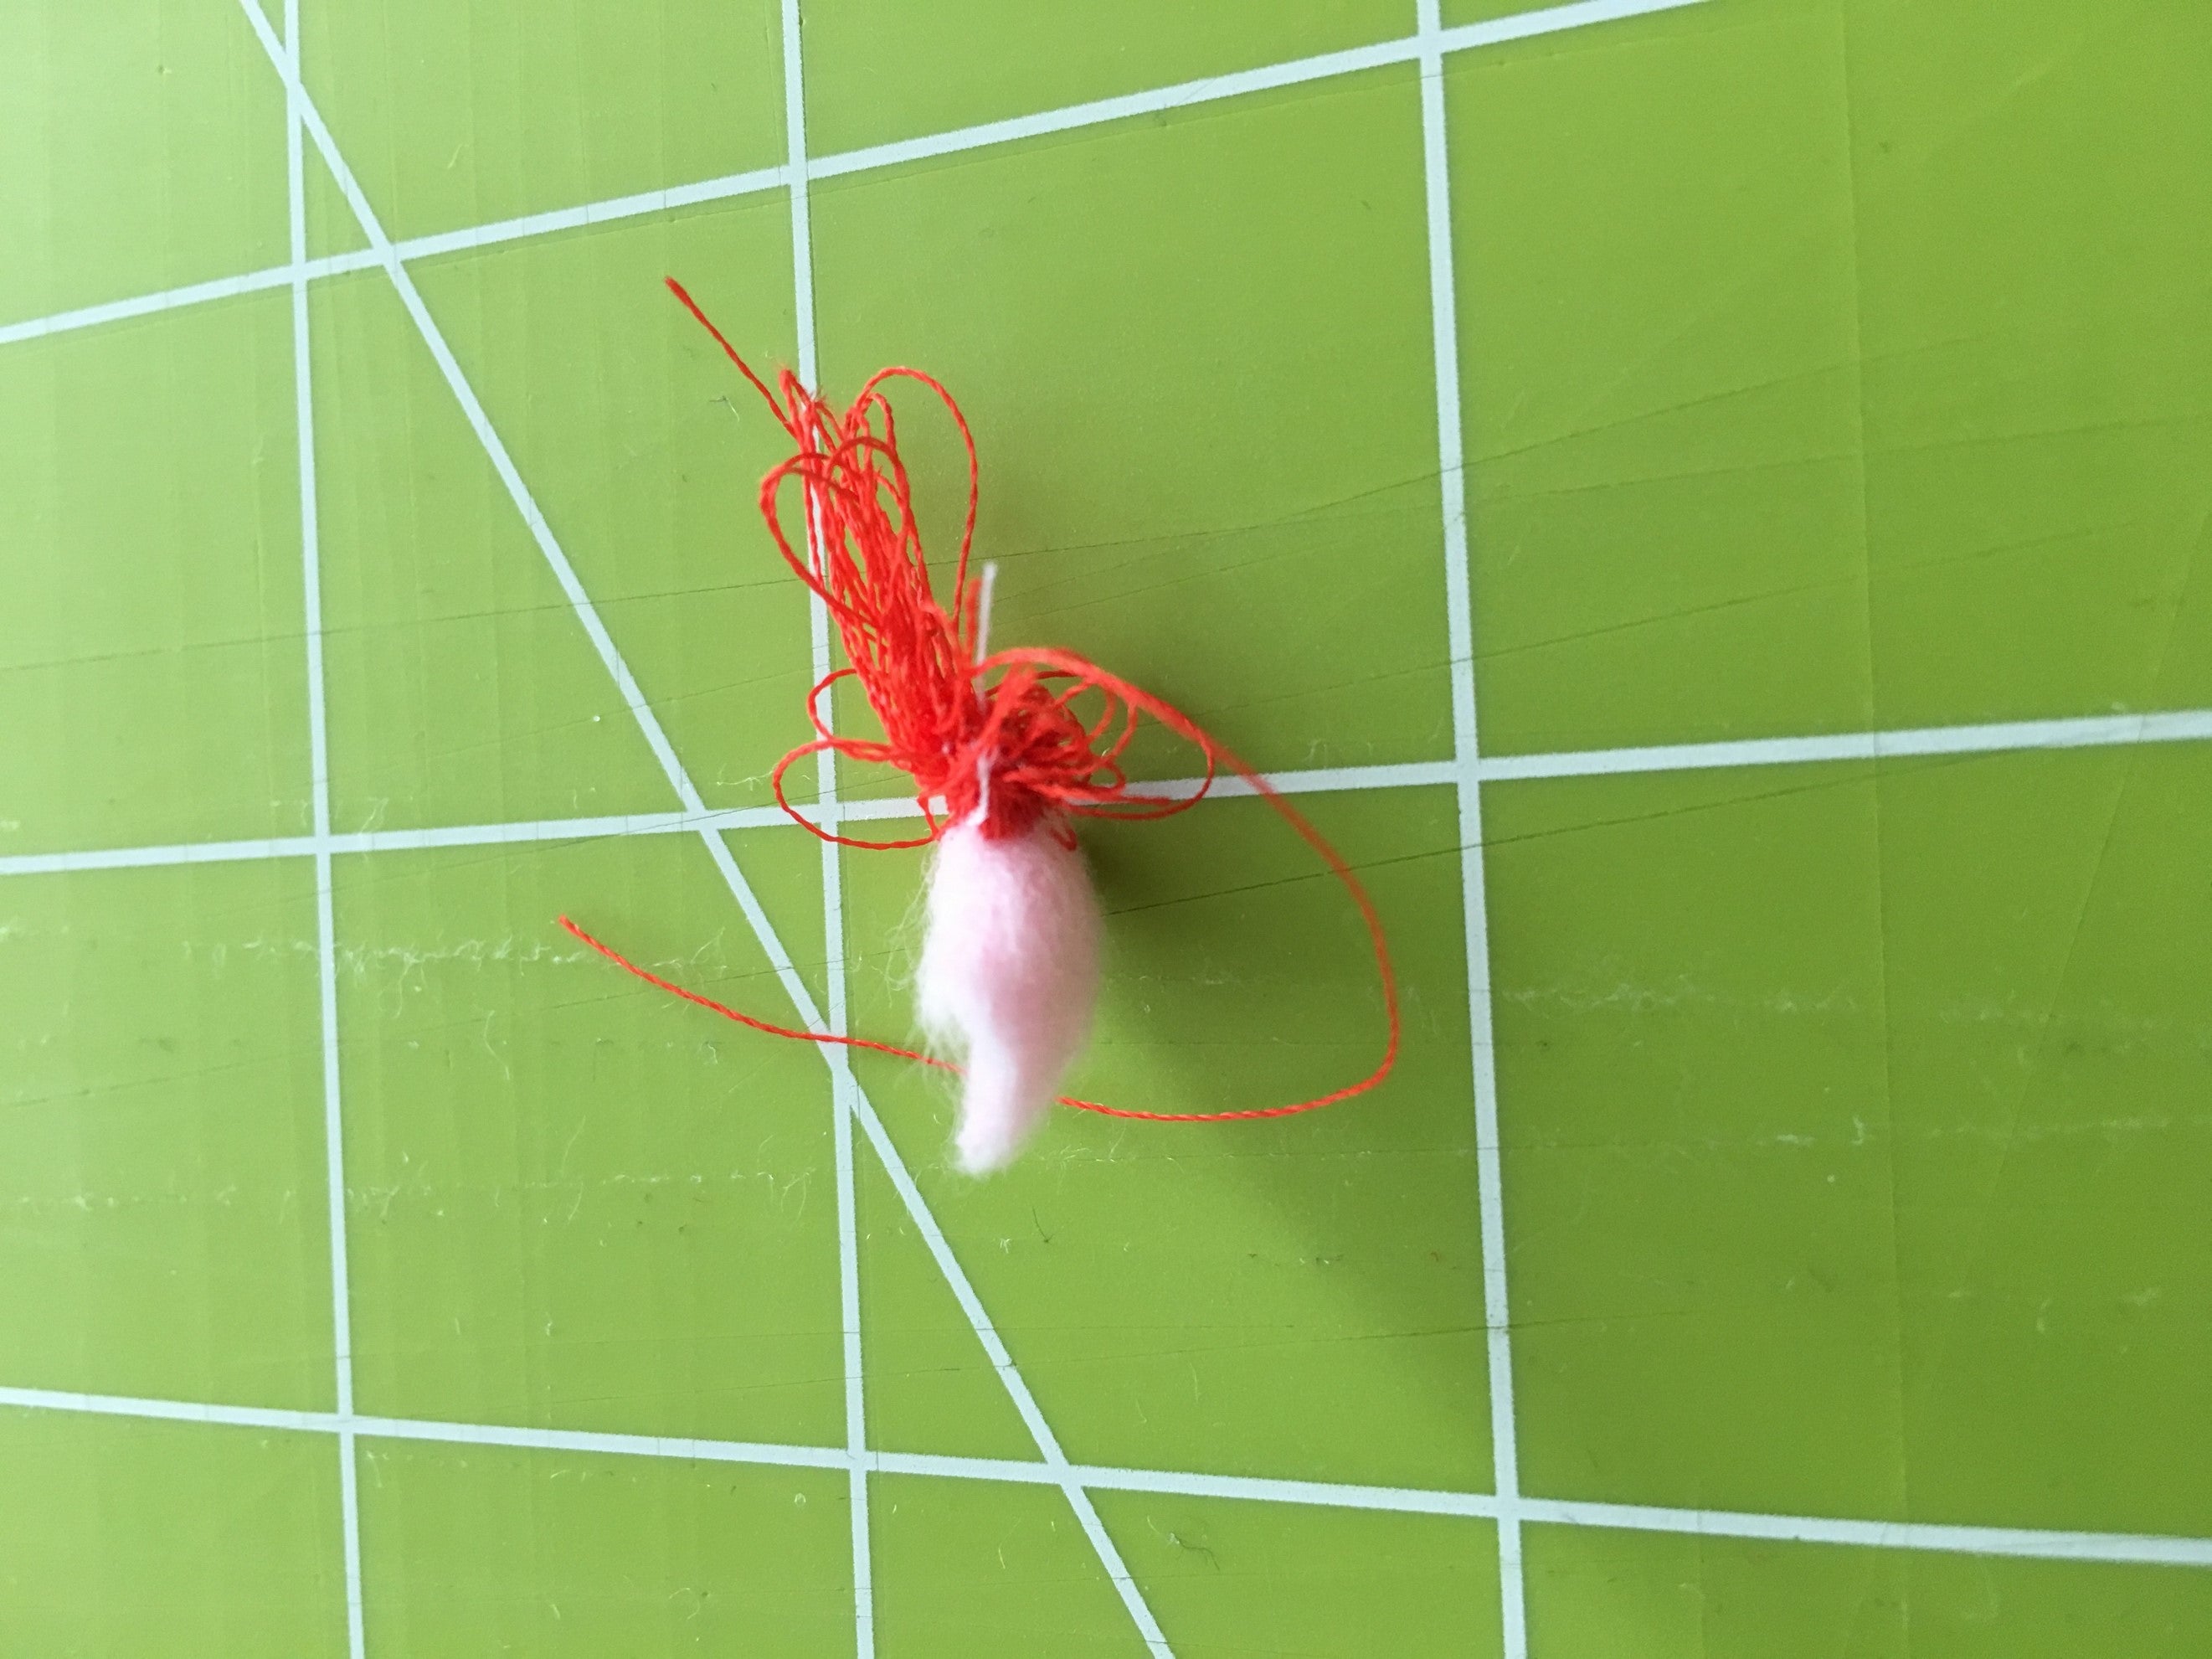 I must confess I ran into a problem with this panel – nothing to do with the design or my machine – I broke my own “rule”: I didn’t use a new needle as I usually do for each project. As the “law” says (I think you know which “law” I mean), if something is going to go wrong, it will happen when you turn your back on the machine. Towards the end of the stitch out, I could hear the sound of the machine wasn’t quite right (you get used to the sound your machine makes). It was a “thumping” sound as the needle was going in and out of the fabric. I knew what that meant: the needle was blunt! As it was near the end, I chanced it…and then it happened. A bird’s nest on the back of the work jammed the machine. I was left with no option but to switch off the machine and cut out the thread under the hoop to release it. I then had to remove the stitch plate and clear the thread.
 As you can see from the photo, it left a hole in the panel and since it had moved there was no way back. Lesson well and truly learnt. New needle inserted as I should have done before I started.
This time, all was fine. So, if you find you are getting bird nesting, thumping sound, thread breaks and the like:
• Unthread your machine (remove your bobbin and top thread)
• Wind a new bobbin (use the recommended bobbin thread for your machine)
• Put in a NEW needle (appropriate for the job at hand)
• Re-thread your bobbin and top thread
Here is my second panel (you’ll notice I added Daisy’s name):
As you can see from the photo, it left a hole in the panel and since it had moved there was no way back. Lesson well and truly learnt. New needle inserted as I should have done before I started.
This time, all was fine. So, if you find you are getting bird nesting, thumping sound, thread breaks and the like:
• Unthread your machine (remove your bobbin and top thread)
• Wind a new bobbin (use the recommended bobbin thread for your machine)
• Put in a NEW needle (appropriate for the job at hand)
• Re-thread your bobbin and top thread
Here is my second panel (you’ll notice I added Daisy’s name):
And here are the final results:
 The finished pillows look (and feel) lovely. They have been very popular with friends, colleagues and the children. Be warned, you could end up making a lot of them!